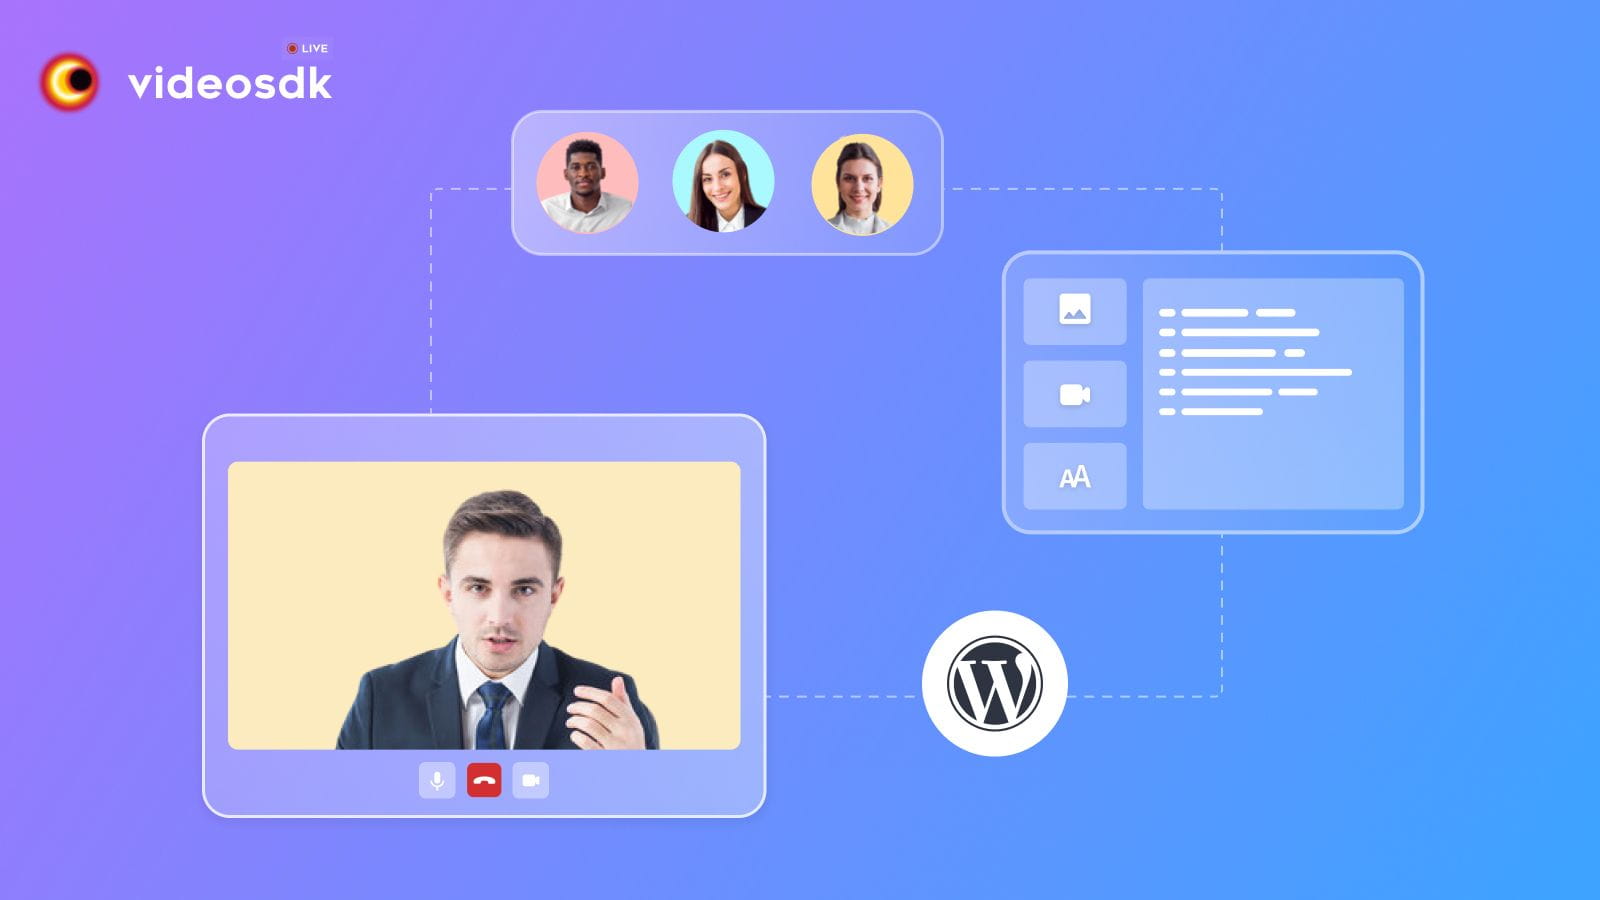
This tutorial will provide a step-by-step guide that can help you create a video calling app in WordPress with the Prebuilt Video SDK in Just 5 minutes. I've been creating various guides, such as this one, on different subjects. My personal goal is to make it easier for new developers to start building Web and Mobile applications without all the unnecessary hurdles.
Prebuilt SDK is the easiest way to add a video calling feature to your website. It works on any device, with no installation needed. Create meetings, join meetings and let people talk face to face over webcam in real-time.
Step 1: Create an account and generate API Key
First, you will need to Sign Up to create a Video SDK account, which is absolutely free. Once you set up the account go to settings>api-keys and generate a new API key for integration. (For more info, you can follow How to generate API Key?)
Step 2: Add a Custom HTML block to your page
Once you've logged in to your WordPress dashboard., you'll want to add a Custom HTML block to the page of your site where you wish to create a video call embed. (For more info, you can follow this support article on Wordpress.org)
Step 3: Add Prebuilt Code in HTML block
Simply copy and paste the following code into your Custom HTML block
<script>
  var script = document.createElement("script");
  script.type = "text/javascript";

  script.addEventListener("load", function (event) {
    const config = {
      name: "Video SDK Live",
      meetingId: "prebuilt",
      apiKey: "<YOUR API KEY>",

      containerId: null,

      micEnabled: true,
      webcamEnabled: true,
      participantCanToggleSelfWebcam: true,
      participantCanToggleSelfMic: true,

      chatEnabled: true,
      screenShareEnabled: true,
    };

    const meeting = new VideoSDKMeeting();
    meeting.init(config);
  });

  script.src =
    "https://sdk.videosdk.live/rtc-js-prebuilt/0.3.1/rtc-js-prebuilt.js";
  document.getElementsByTagName("head")[0].appendChild(script);
</script>
Now, Add the apiKey:"<YOUR API KEY>" (in the code above) in apiKey the property you need to provide your API KEY which we have generated in Step 1.
Create different roles (host, guest, etc.)
Create unique meeting links each time
Advanced
Developers, see our Prebuilt SDK for more information on creating and configuring rooms.
Basic features: Join Screen, Camera Control, Mic Controls, Redirect on Leave, Share Your Screen, Send Messages, Pin Participants.
Advanced features: Cloud Recording, Go Live On Social Media, Change Layout, Customize Branding, Customize Permissions, Whitelist Domain For Better Securit,
If you have questions while using the Video SDK Prebuilt SDK, I invite you to join the Discord Community. You can ask your questions in the #no-code channel.Or you can reach out to me on Twitter.
