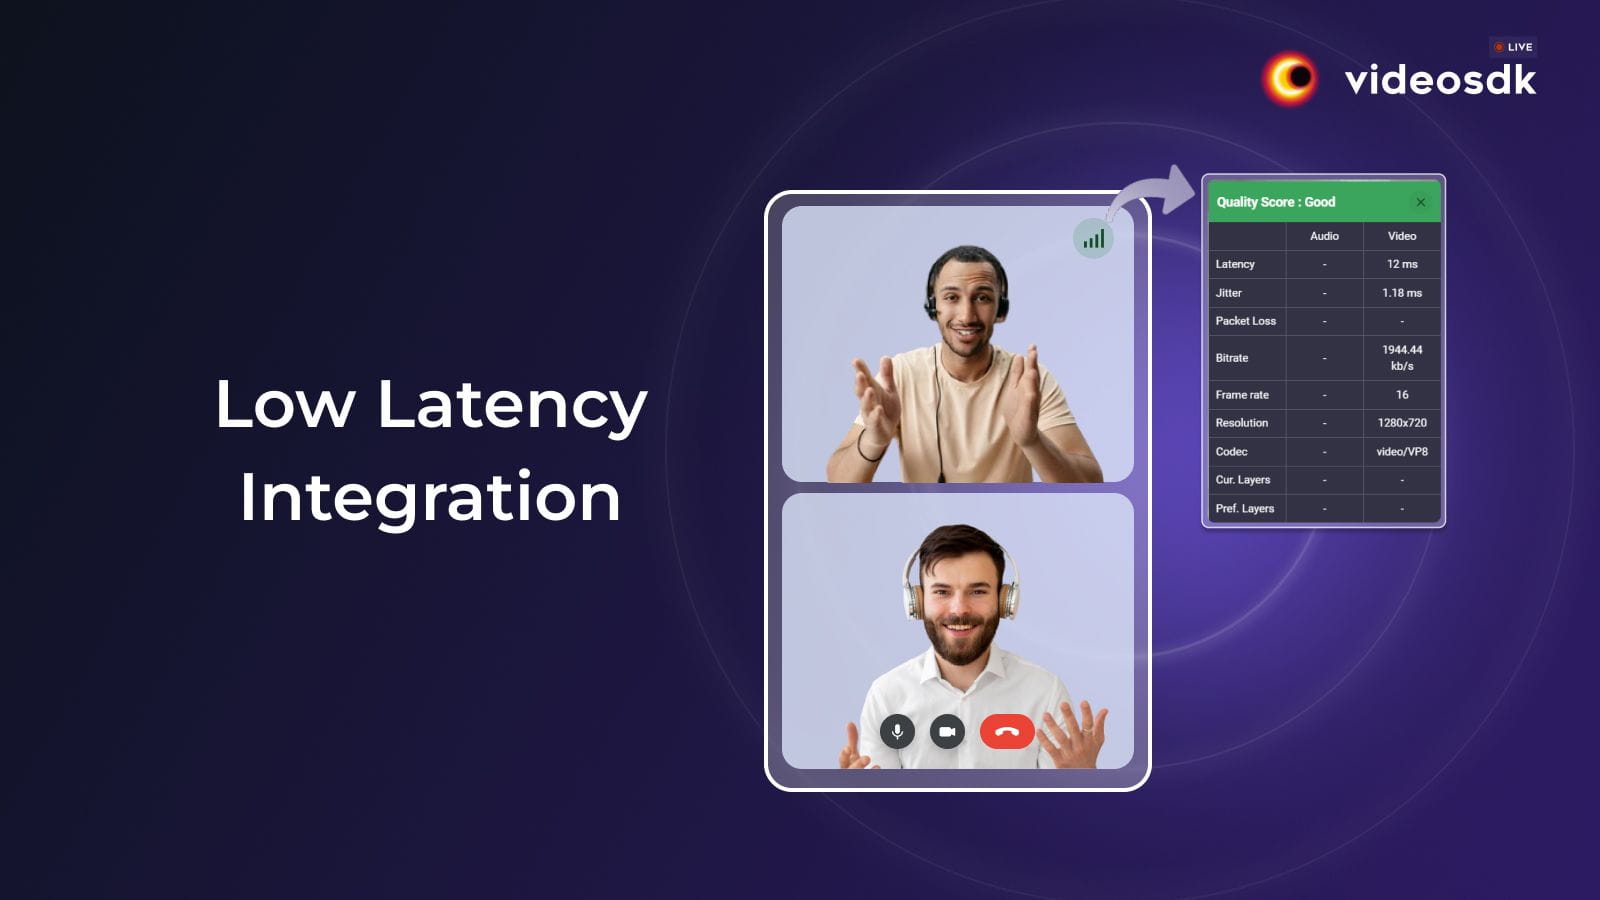
What is Low Latency?
Low latency refers to the minimal delay between the transmission and reception of data in a communication system. In the context of WebRTC (Web Real-Time Communication), low latency is crucial for providing a seamless, real-time experience for users engaged in video calls, audio chats, or any form of live interaction over the web. The goal is to reduce the time it takes for data to travel from its source to its destination, ensuring that conversations flow naturally and actions appear instantaneous.
Factors Affecting Latency
Several key factors influence the latency in WebRTC applications. Network conditions play a significant role, with factors such as geographical distance between participants, internet connection speed, and network congestion all impacting the overall latency.
Additionally, the processing power of devices, the efficiency of encoding and decoding algorithms, and the performance of the WebRTC infrastructure can affect latency. By optimizing these elements, developers can work towards achieving the lowest possible latency for their WebRTC applications.
Low Latency in VideoSDK
VideoSDK, like other WebRTC-based solutions, aims to minimize latency as much as possible. However, the exact "lowest latency" can vary depending on several factors and real-world conditions. That said, here's what we can say about VideoSDK's latency performance:
- Lowest possible latency: Can reach as low as 12 milliseconds in ideal scenarios with internal servers.
Our average latency can vary around less than 99 milliseconds end-to-end in optimal conditions.
⚙️ Implementing Low-Latency Video Calls with VideoSDK
Now that we understand the factors affecting latency and VideoSDK's performance capabilities, let's walk through the process of setting up a low-latency video call using VideoSDK's & video script writer prebuilt solution. This approach allows you to quickly implement real-time communication while leveraging VideoSDK's optimized infrastructure for minimal latency.
Step 1: Clone the Repository
First, clone the VideoSDK examples repository and navigate to the JavaScript directory:
git clone https://github.com/videosdk-live/videosdk-rtc-prebuilt-examples.git
cd videosdk-rtc-prebuilt-examples
cd javascript
Step 2: Generate API Key
To generate your API key, visit VideoSDK's Dashboard. This key is essential for accessing VideoSDK's low-latency infrastructure and optimizing your real-time communication application.
Step 3: Configure the API Key
Open the index.html file and update it with your API key generated from the VideoSDK dashboard. Also, set the meeting ID and participant name:
// Set apikey, meetingId and participant name
const apiKey = "<API KEY>"; // generated from app.videosdk.live
const meetingId = "milkyway";
const name = "John Doe";
Replace <API KEY> with your actual API key. This key is crucial for authenticating your application with VideoSDK's servers and ensuring secure, low-latency communication.
Step 4: Setup a Local Server
To run your application, you'll need a local HTTP server. If you don't have one installed, you can use live-server. Install it globally using npm:
npm install -g live-server
live-server
This will launch your application in your default web browser, allowing you to test your low-latency video call implementation.
Conclusion
Implementing low-latency video calls is essential for delivering a seamless and real-time communication experience. VideoSDK offers a powerful and easy-to-use solution for developers looking to integrate high-quality video calls into their applications.
Remember that while this setup provides a great starting point, achieving the lowest possible latency in production environments may require further optimization based on your specific use case and the factors we discussed earlier. With VideoSDK, you can ensure that your video call application meets the highest standards of performance and reliability, providing your users with the best possible experience.
If you are new to VideoSDK, just Signup and get 10,000? free minutes every month.
