
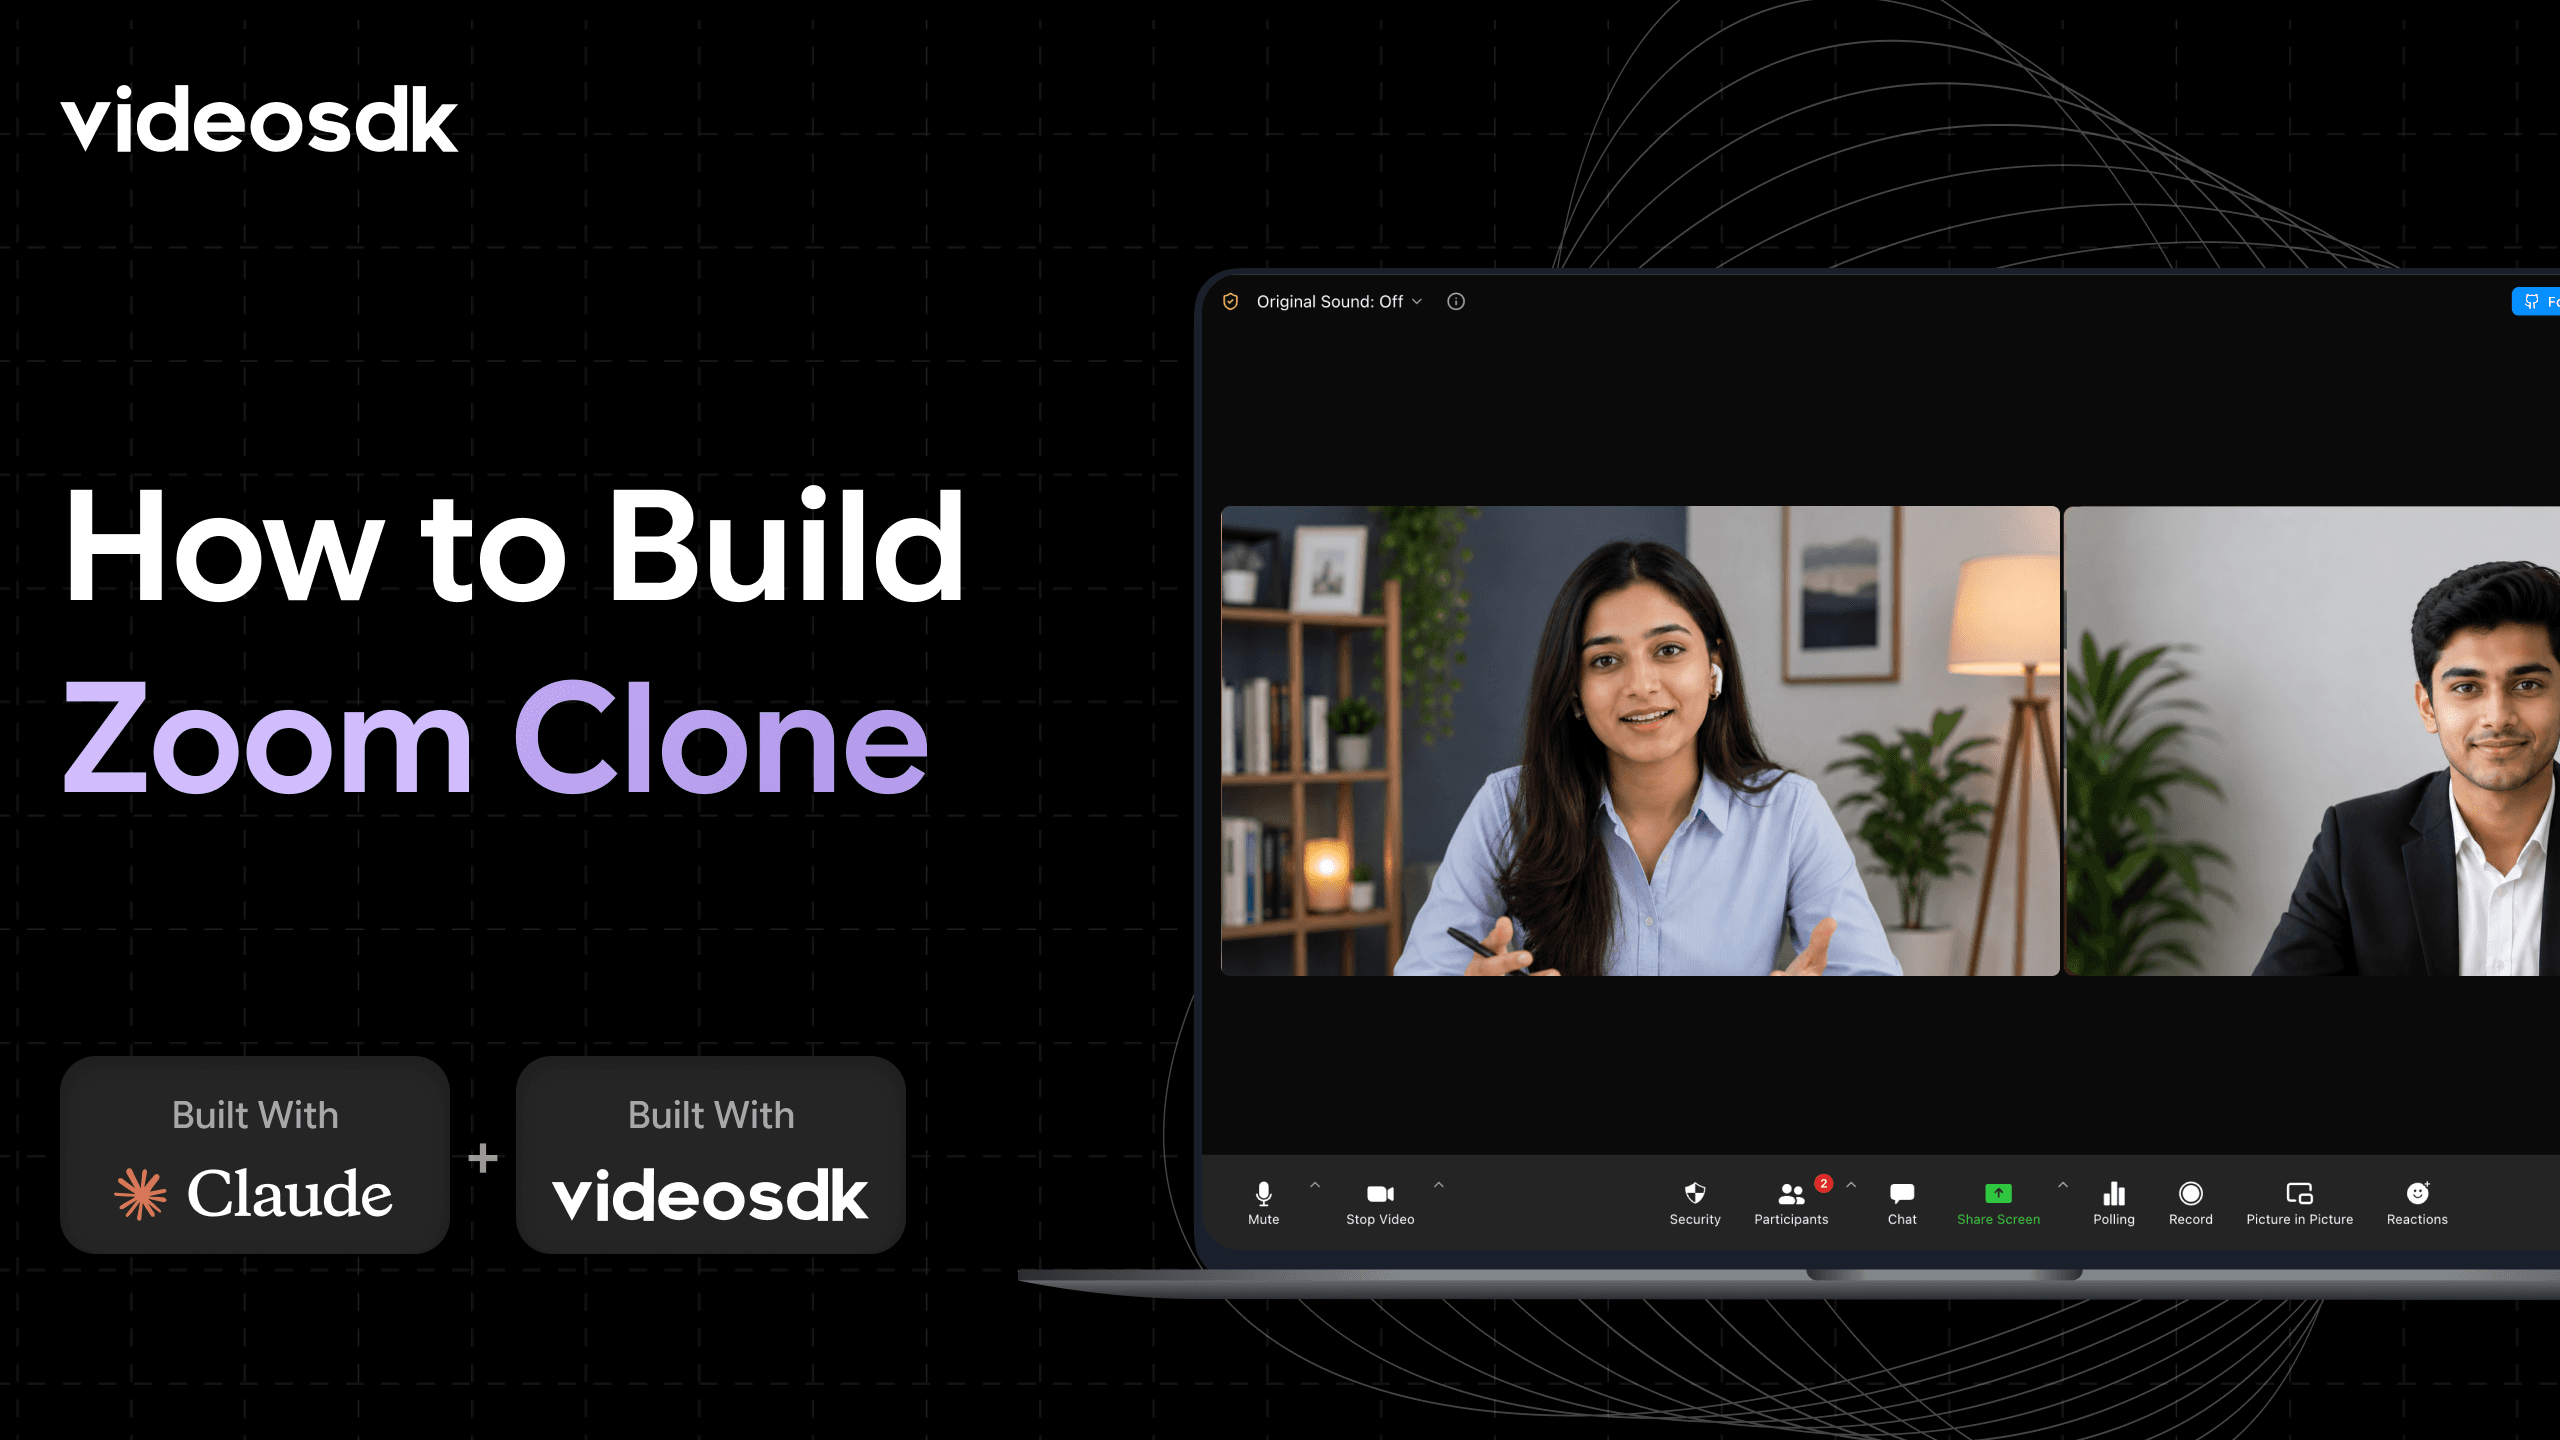


An open-source Zoom clone is a self-hosted video conferencing app you fully control, built from a public repository instead of a paid product. The MIT-licensed videosdk-community/zoom-clone repo ships a React 18 client on VideoSDK's React SDK, and two environment variables turn it into live multi-participant video in about ten minutes.You can have a working Zoom clone running on your machine in about ten minutes, and you don't have to write the hard parts yourself. You start from a free, MIT-licensed repository, add two VideoSDK keys, and use Claude Code to run and customize it. This guide walks through every step, from an empty terminal to a live meeting you can share with a friend and deploy to the internet.
No WebRTC knowledge is required. If you can run a command and copy a key, you can finish this.
What Is an Open-Source Zoom Clone?
An open-source Zoom clone is defined as a video conferencing application whose full source code is public and modifiable, replicating Zoom's meeting experience without Zoom's hosted product or per-seat licensing.
It works by pairing a client application you own with a real-time media backend you rent. The client renders the join screen, the participant grid, chat, and host controls. The media backend captures, encodes, routes, and fans out live audio and video to every participant.
VideoSDK provides that backend through its React video calling SDK, which handles WebRTC transport, an SFU media server, and server-side enforcement of host decisions. The videosdk-community/zoom-clone repository is the client: React 18, TypeScript 5, Vite 6, Tailwind CSS v4, Zustand 5, and VideoSDK's React SDK v0.13.
That split is the reason a beginner can finish this in one sitting. Nobody in this tutorial writes signaling code, negotiates ICE candidates, or stands up a TURN server. You clone a working app, hand it credentials, and start changing the parts you actually care about. If you would rather wire VideoSDK into an app you already have, the VideoSDK React quick start covers the same SDK from an empty project.
What You Will Build with VideoSDK
You will end up with a real video meeting app that looks and feels like Zoom, complete with a join screen, a video grid, screen sharing, chat, reactions, raise-hand, polls, a whiteboard, and host controls like mute-all and a waiting room.
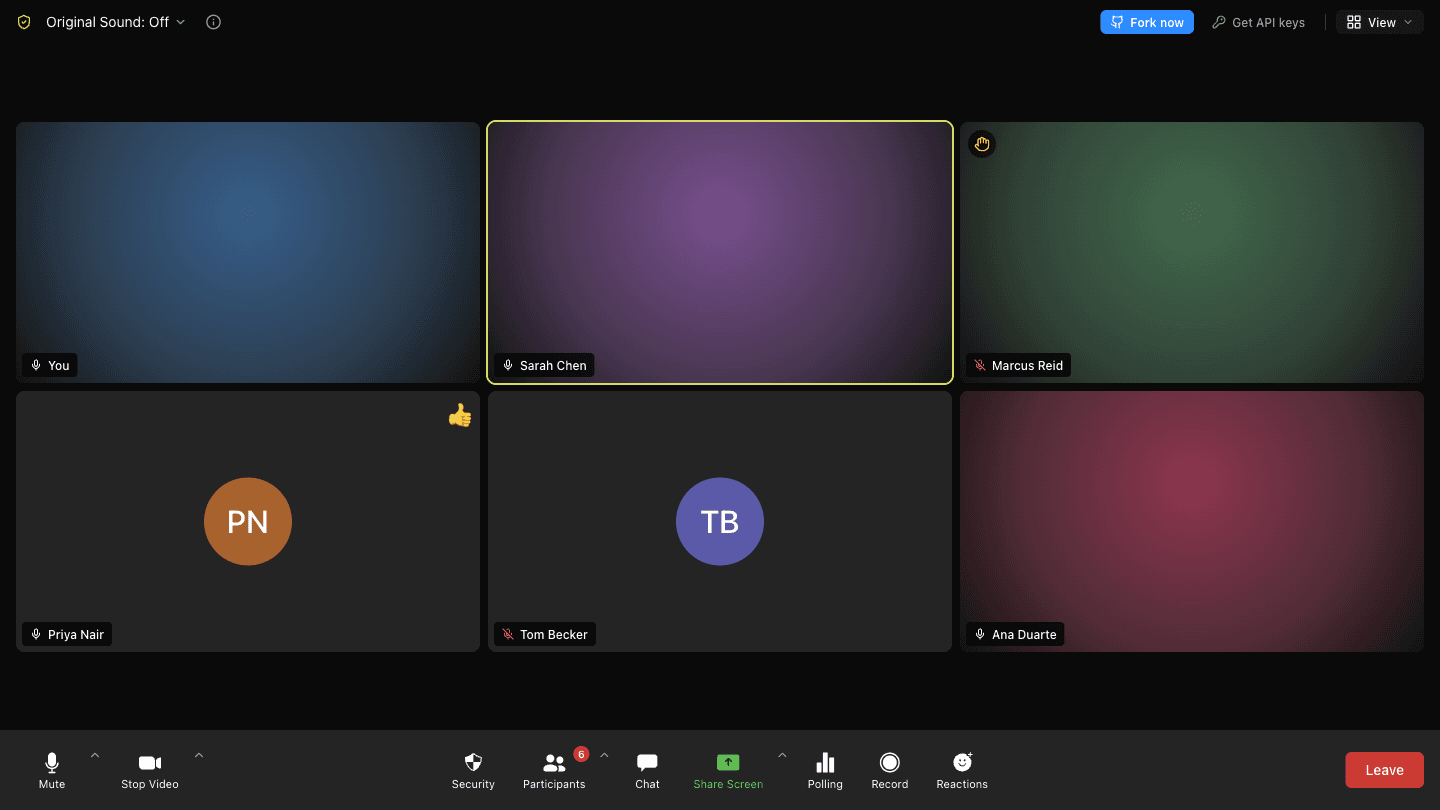
The first time you run it, everything works with no setup at all. That keyless run is demo mode: a local, single-browser mock meeting that lets you click through the real interface without a media server behind it. To have two people actually see and hear each other, you add free VideoSDK keys in Step 3.
Prerequisites for This Zoom Clone Tutorial
You need four things to build it, and all of them are free:
- Node.js 18 or newer (20+ recommended), which you can confirm by running
node -v. - pnpm, the package manager this repo uses, installed with
npm install -g pnpm. - A free VideoSDK account for real meetings, available from the VideoSDK dashboard. You can skip this until Step 3.
- Claude Code, Anthropic's terminal coding agent, so you can customize the app by describing what you want.
That is the entire list. No database to configure, no backend to stand up, and no video infrastructure to wire together. VideoSDK's free tier covers the video minutes you will burn while building and testing.
Step 1: Clone the Zoom Clone Repository
Getting the code is one command, and the repository is MIT licensed, so anything you build on top of it is yours.
git clone https://github.com/videosdk-community/zoom-clone.git
cd zoom-clone
If you would rather deploy first and read the code later, the repo's README has a Deploy with Vercel button that forks the project and wires up hosting in a single click, asking only for the two keys you'll get in Step 3.
Either path works. For this guide we'll run it locally first so you can watch it come to life, then deploy at the end.
Step 2: Run It Instantly in Demo Mode
Demo mode lets you explore the entire meeting interface with zero credentials and zero signup.
Install the dependencies and start the dev server:
pnpm install
pnpm dev
Open http://localhost:5173 and you'll land on the home screen. Starting a meeting drops you straight into a working Zoom-style room, control bar and all.
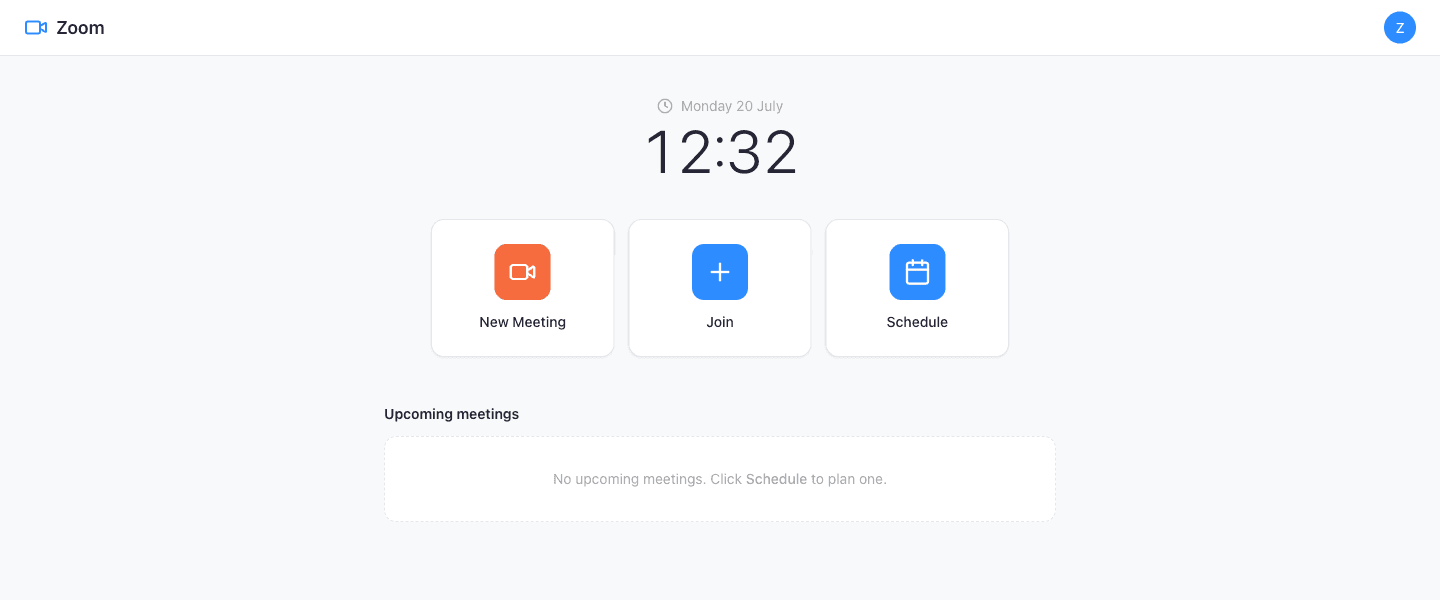
The reason it runs with nothing configured is that the app checks whether real VideoSDK credentials exist and, if they don't, falls back to demo mode:
// src/routes/MeetingRoom.tsx
const isLive = hasToken() && !roomId.startsWith("demo-");
When there's no token, isLive is false, so the app renders a fully interactive mock meeting instead of a live one. This is perfect for a first look, letting you click every button, open the chat, and try the reactions before you commit to anything.
Just keep in mind what demo mode is not: it's a single-browser mock, so you can't call a friend yet. That is exactly what the next step unlocks.
Step 3: Add Real Video with VideoSDK Keys
Real meetings need real credentials, and getting them takes about two minutes.
- Open the VideoSDK dashboard and sign up.
- Copy your API key and secret.
- Create your env file so you can paste them in:
cp .env.example .env
Open the new .env file and fill in exactly two values:
VIDEOSDK_API_KEY=your_api_key_here
VIDEOSDK_SECRET=your_secret_here
Restart the dev server with pnpm dev and you are now running in live mode. Open the meeting link on a second device or send it to a friend, and you'll see and hear each other for real.
What matters most here is what you did not have to do. There is no manual token step, no JWT signing by hand, and no auth server to run. The next section explains how that works, because it is the step most video calling tutorials skip.
How Do I Generate a VideoSDK Token?
VideoSDK authenticates every participant with a short-lived JWT called a meeting token, signed server-side with your API key and secret. In this repo, the Vite build does that signing for you at build time, so you never write the code yourself.
Two tokens are minted from your key pair:
| Token | Role | What it authorizes |
|---|---|---|
VITE_VIDEOSDK_TOKEN | rtc | Joining rooms, publishing and subscribing to audio and video |
VITE_VIDEOSDK_API_TOKEN | crawler | Room management calls against the VideoSDK REST API |
The secret is read only inside the Node build process and is never shipped to the client, which is the property that makes this safe to deploy publicly. Token expiry defaults to 365 days and is configurable with VIDEOSDK_TOKEN_EXPIRY. You can also mint one by hand with pnpm mint-token.
If you are wiring VideoSDK into your own app rather than this repo, the equivalent server-side signing looks like this:
const jwt = require("jsonwebtoken");

const API_KEY = process.env.VIDEOSDK_API_KEY;
const SECRET_KEY = process.env.VIDEOSDK_SECRET;

const options = {
  expiresIn: "120m",
  algorithm: "HS256",
};

const payload = {
  apikey: API_KEY,
  permissions: ["allow_join"],
};

const token = jwt.sign(payload, SECRET_KEY, options);
Never expose your VideoSDK secret in frontend code or commit it to git. Always sign tokens in a build step or on a server you control. The VideoSDK authentication and token guide documents every available permission scope and how to shorten token lifetime per participant.
Step 4: Customize the App with Claude Code
Instead of hunting through files to change things by hand, you describe what you want and let Claude Code make the edit.
Start Claude Code in the project folder:
claude
From there you talk to it in plain English. The prompts below are examples of the kind of request you'd make, so adapt them to whatever you actually want to build.
Rebrand it:
"Change the app name and logo from Zoom to MyMeet, and swap the accent color from blue to purple across the UI."
Tweak the meeting UI:
"In the control bar, move the Reactions button next to the Chat button, and add a tooltip to each control."
Add a small feature:
"Add a 'copy meeting link' button to the top bar that copies the current room URL and shows a 'Copied!' toast."
The loop is always the same and it's easy to trust: you describe the change, Claude Code finds the right files and edits them, you review the diff it shows you, and the dev server hot-reloads so you see the result immediately.
Because the project already runs, you're never starting from a blank page, and steering a working app is exactly the situation where a coding agent shines. Start small with a color or a label, watch it work, and grow from there.
One practical tip: the repo ships Playwright end-to-end specs and a typecheck script, so ask Claude Code to run pnpm typecheck and pnpm test:e2e after a non-trivial edit. Those tests need valid VideoSDK credentials in .env.
Step 5: Deploy Your Zoom Clone to Vercel
Putting the app online takes a few minutes and the same two environment variables you already have.
The fastest path is the Deploy with Vercel button in the README, which imports the repo, prompts you for VIDEOSDK_API_KEY and VIDEOSDK_SECRET, and then builds and hosts it for you.
Deep links like /meeting/abc-123 already work in production because the repo ships a vercel.json that routes every path back to the app. If you deploy somewhere else, the build command is pnpm build and you serve the generated dist/ folder, with an equivalent catch-all rewrite (a _redirects rule on Netlify, for example) so shared meeting links don't 404.
Either way, you end up with a real, shareable Zoom clone on the internet, built from an empty terminal in a single sitting.
Inside the App: Architecture in Five Parts
You don't need to understand the internals to use the app, but knowing the five moving parts makes every customization faster.
- Rooms and joining handle every meeting as a room with a shareable link, created and validated for you through VideoSDK's REST API.
- The participant grid shows who's in the call, in speaker or gallery view, updating as people come and go via the SDK's participant events.
- The video stage carries the actual camera and screen-share streams, delivered by VideoSDK's SFU media server.
- Chat, reactions, polls, and raise-hand ride on VideoSDK's PubSub layer rather than the media path, with persistent history so late joiners see what they missed.
- Host controls cover mute-all, remove, lock, and the waiting room, and they're enforced server-side through SDK commands rather than by hiding buttons in the UI.
Application state lives in four Zustand stores covering session role, display names, scheduled meetings, and device preferences. Only meeting controls reset between sessions, which is what prevents one meeting's host state from leaking into the next.
The complete working code for everything above lives in the videosdk-community/zoom-clone repository, and more integration starters are in the VideoSDK code samples.
Common Errors and How to Fix Them
Most failures in a first VideoSDK integration come from three places, and all three have quick fixes.
"Invalid token" or an immediate disconnect on join. Your token expired or was signed with a mismatched key pair. Token expiry defaults to 365 days here, so this usually means a mismatched key pair rather than an expired token, but a year-old deployment needs a fresh mint via pnpm mint-token. Confirm VIDEOSDK_API_KEY and VIDEOSDK_SECRET come from the same project in the dashboard.
Camera or microphone permission denied. Browsers only grant getUserMedia on secure origins. localhost counts as secure, but a LAN IP like 192.168.1.20:5173 does not, so test on localhost or put HTTPS in front of it.
The meeting works locally but a shared link 404s in production. Your host is serving the path instead of the SPA. Add the catch-all rewrite described in Step 5.
You joined but nobody can hear anyone. Check that you are in live mode rather than demo mode. A room ID starting with demo- never touches the media server, no matter how valid your keys are.
Production Considerations Most Tutorials Skip
Shipping this app to real users involves four things localhost never forces you to think about.
There is no backend. Roles in this repo are application-local, meaning a determined user can claim host in their own client. Host actions are still enforced by VideoSDK's media server, so a fake host cannot mute someone else, but if you need cryptographically trustworthy roles, issue per-participant tokens with scoped permissions from a server you control.
Token lifetime is a deployment decision. The 365-day default is convenient for a demo and generous for production: anyone who pulls that token out of your JavaScript bundle can join rooms on your account for a year. Shorten VIDEOSDK_TOKEN_EXPIRY, or move token minting to a small server endpoint that issues short-lived, per-participant tokens on join.
HTTPS is mandatory. Media capture, screen share, and clipboard access all require a secure context in production browsers.
Cost scales with participant minutes, not with users. A 4-person 30-minute meeting bills roughly 120 participant minutes, not 30. Model your usage that way before launch against VideoSDK's pricing tiers.
For server-issued tokens and programmatic room control, work from the VideoSDK REST API reference, which covers room creation, participant listing, and recording endpoints.
Definitions Glossary
Room: A VideoSDK meeting space that participants join and share media streams within, identified by a unique room ID. In this repo, every meeting link maps to one room.
Meeting Token: A JWT authenticating a participant's access to a room, signed server-side with your API key and secret. This repo signs it during the Vite build so the secret never reaches the browser.
SFU (Selective Forwarding Unit): The media server that receives each participant's stream once and forwards it to everyone else, which is what keeps a six-person gallery view from melting a laptop.
PubSub: VideoSDK's real-time messaging layer for non-media state. Chat, reactions, polls, and host commands travel here, with persistent history for late joiners.
Frequently Asked Questions
Is this repo free to use?
Yes, this open-source Zoom clone is free to use commercially. The videosdk-community/zoom-clone repository is MIT licensed, so you can use, modify, and ship it freely, including in commercial projects. VideoSDK's free tier covers the video minutes you will use while building and testing.
Do I need to know WebRTC?
No, you do not need to know WebRTC for this build. The real-time engineering, meaning media capture, encoding, transport, and server-side fan-out, is handled by VideoSDK's React SDK. You work in ordinary React and TypeScript, and Claude Code can make most edits for you when you describe them in plain English.
Can I run it without signup?
Yes, in demo mode. With no keys configured, the app runs a local mock meeting so you can explore the full UI, including the control bar, chat, and reactions. For real meetings between two or more people, you add a free VideoSDK API key and secret in Step 3.
Where do the tokens come from?
VideoSDK tokens are JWTs signed with your API key and secret. This repository signs two of them automatically during the Vite build, an rtc token for joining meetings and a crawler token for room management, using only VIDEOSDK_API_KEY and VIDEOSDK_SECRET from your .env file. Expiry defaults to 365 days and is configurable with VIDEOSDK_TOKEN_EXPIRY.
Can Claude Code build it from scratch?
You don't need it to. Start from this runnable repo, which already contains a complete Zoom-style app, and use Claude Code to understand, customize, and extend it. Steering a working codebase gets you a usable result far quicker than prompting one into existence from nothing.
How is this different from real Zoom?
The main difference is ownership. This is an open-source app you fully control rather than a hosted product, covering video, screen share, chat, reactions, polls, and host controls. Enterprise extras like large webinars, admin consoles, and billing aren't part of the starter, though VideoSDK offers building blocks for several of them.
How long does this take?
About ten minutes to a running app in demo mode, plus a few more to add VideoSDK keys and go live. Deployment to Vercel adds roughly five minutes. Customizing is open-ended, but with Claude Code doing the edits, common changes like rebranding or moving a control take minutes rather than hours.
Key Takeaways
- The MIT-licensed
videosdk-community/zoom-clonerepository is a complete React 18 meeting app you can fork and ship commercially today. - Demo mode runs the full interface with zero keys, so you can evaluate the UI before creating any account.
- Real multi-person video needs exactly two environment variables,
VIDEOSDK_API_KEYandVIDEOSDK_SECRET. - The Vite build signs both meeting tokens for you, an
rtctoken for joining and acrawlertoken for room management, so your secret never reaches the browser. - VideoSDK's SFU media server enforces host controls like mute-all, lock, and the waiting room server-side, which is why hiding a button in the UI is not the security boundary.
- Claude Code handles the edits: describe the change in plain English, review the diff, and watch the dev server hot-reload.
Conclusion: Ship Your Own Meeting App
You now have everything needed to run, customize, and ship an open-source Zoom clone: an MIT-licensed React codebase, two VideoSDK environment variables that unlock real multi-participant video, and a coding agent that edits the app while you describe what you want.
- Try it live: zoom-clone-by-videosdk.vercel.app
- The repo:
videosdk-community/zoom-clone, MIT licensed and one-click deployable - Free API keys: VideoSDK dashboard
- React SDK docs: docs.videosdk.live/react/guide/video-and-audio-calling-api-sdk/quick-start
- Community: the VideoSDK Discord, where 3,000+ developers are building on the same SDK
Fork the repo, run pnpm dev, and you'll be looking at your own Zoom clone before your coffee's cold.
What are you building with VideoSDK? Drop a comment with the meeting feature you would add first, since that is usually where the interesting product decisions start.